Taking feet pics might seem simple—just point and shoot, right? But creating high-quality, attractive photos requires more than that. This comprehensive guide will walk you through everything you need to know to take feet pics that stand out, from mastering poses and lighting to enhancing your photos with creative props and settings.
Whether you’re capturing feet pics for creative expression or selling them online, these tips will ensure your photos grab attention.
What Are Feet Pics?
Feet pics are exactly what they sound like: photographs focusing on a person’s feet. They’ve gained immense popularity for purposes like creative expression, social media trends, or as a source of income on platforms like OnlyFans.
Feet pics are an excellent option for those looking to monetize their creativity. They can be sold online without showing your face, offering a level of anonymity while generating income.
Summary
Essential Elements of a Good Feet Picture
- Clean Presentation
- Ensure your feet are well-groomed, with trimmed toenails and smooth, moisturized skin.
- Address dry skin or calluses by exfoliating regularly for a polished look.
- Apply a subtle glow with body oil or lotion for added shine and appeal.
- Flattering Poses
- Choose poses that highlight the natural curves of your feet, like arched displays or pointed toes.
- Avoid stiff or awkward angles by practicing poses beforehand.
- Incorporate dynamic poses, such as soles up or crossed ankles, for visual variety.
- Lighting
- Use natural light near a window or outdoors for soft, even lighting.
- For indoor shoots, opt for a ring light or softbox to eliminate harsh shadows.
- Experiment with creative lighting effects, like golden hour or candlelight, for unique moods.
- Creative Themes
- Add seasonal touches like snowy settings in winter or sandy beaches in summer.
- Experiment with fun concepts, like floral petals in spring or Halloween-themed props.
- Use accessories like toe rings, anklets, or stockings to enhance the thematic vibe.
- Strategic Backgrounds
- Choose minimalistic backgrounds like wooden floors, marble tiles, or soft fabrics to keep the focus on your feet.
- Incorporate outdoor settings such as gardens, beaches, or grassy fields for a natural look.
- Ensure your space is clean and uncluttered to avoid distracting from the subject.
- Proper Foot Hygiene
- Wash and dry your feet thoroughly before each shoot to maintain cleanliness.
- Keep your toenails evenly trimmed and polished for a neat appearance.
- Regularly use foot masks and scrubs to remove dead skin and enhance smoothness.
- Attention to Details
- Check for small imperfections, such as chipped nail polish or stray hairs, before taking photos.
- Match your nail color to the theme of your shoot for a cohesive look.
- Use props sparingly to complement the scene without overpowering the subject.
- Use of Props
- Include items like flowers, shells, or jewelry to elevate the aesthetic.
- Play with interactive props, like water, glitter, or sand, for added texture and depth.
- Keep the props aligned with your overall theme to maintain consistency.
- Creative Composition
- Experiment with the rule of thirds or centered framing to create balance in your photos.
- Try layering elements like soft fabrics or multiple props to add dimension.
- Incorporate leading lines or textured surfaces to guide the viewer’s eye to your feet.
- Angles and Perspective
- Capture a variety of angles, including top-down, side profiles, and close-ups, to emphasize different aspects of your feet.
- Experiment with elevated or low angles to create a dynamic, engaging photo.
- Use reflections or mirrors to add an artistic twist to your shots.
- Consistent Aesthetic
- Develop a recognizable style by maintaining consistent color palettes and themes.
- Use filters sparingly to enhance lighting and colors without making the photo look artificial.
- Stay true to your personal brand or creative vision to stand out from others.
- Post-Editing Polish
- Use editing software to adjust brightness, contrast, and sharpness for a clean finish.
- Smooth out skin imperfections while keeping the overall look natural.
- Enhance background colors and remove distractions for a professional appearance.
Best Feet Poses for Beginners
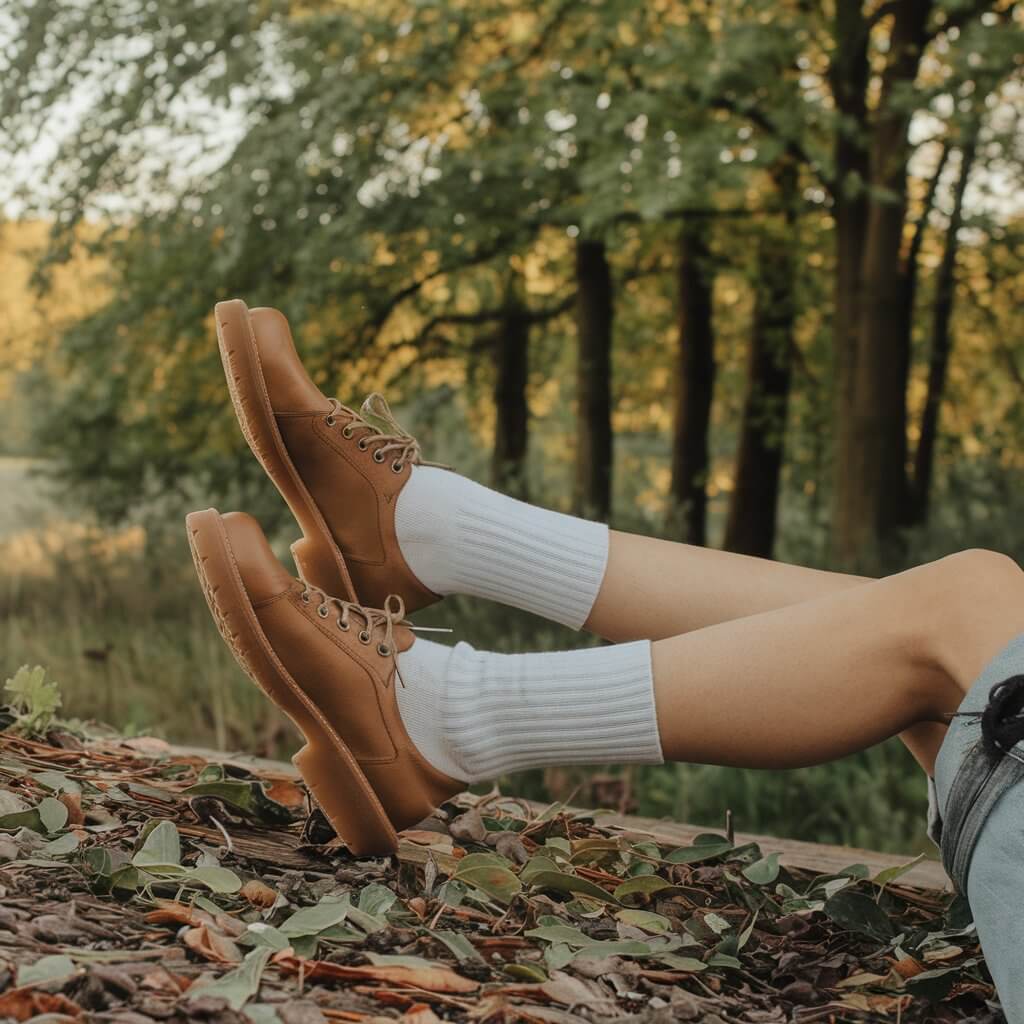
Nature Pose
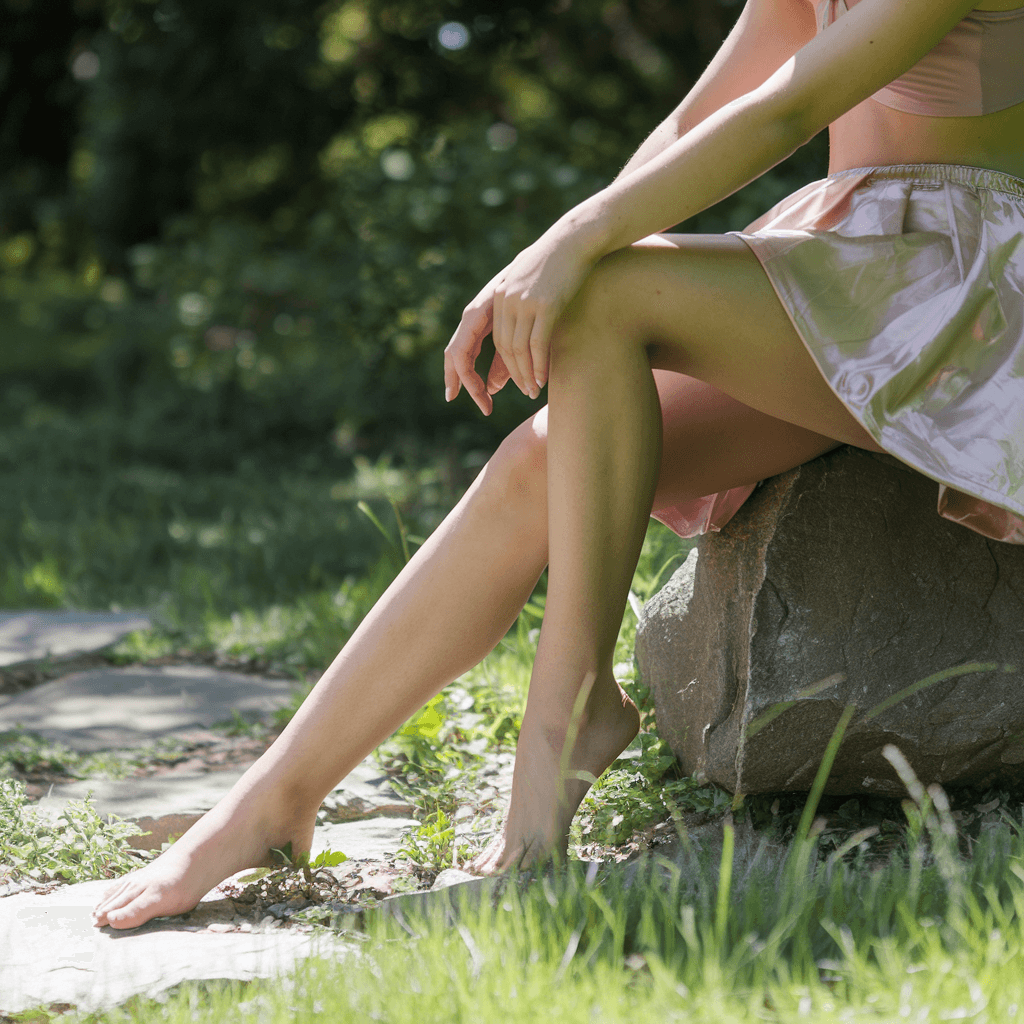
Capture your feet outdoors on grass, sand, or leaves. Keep the background simple while ensuring your feet remain the focal point.
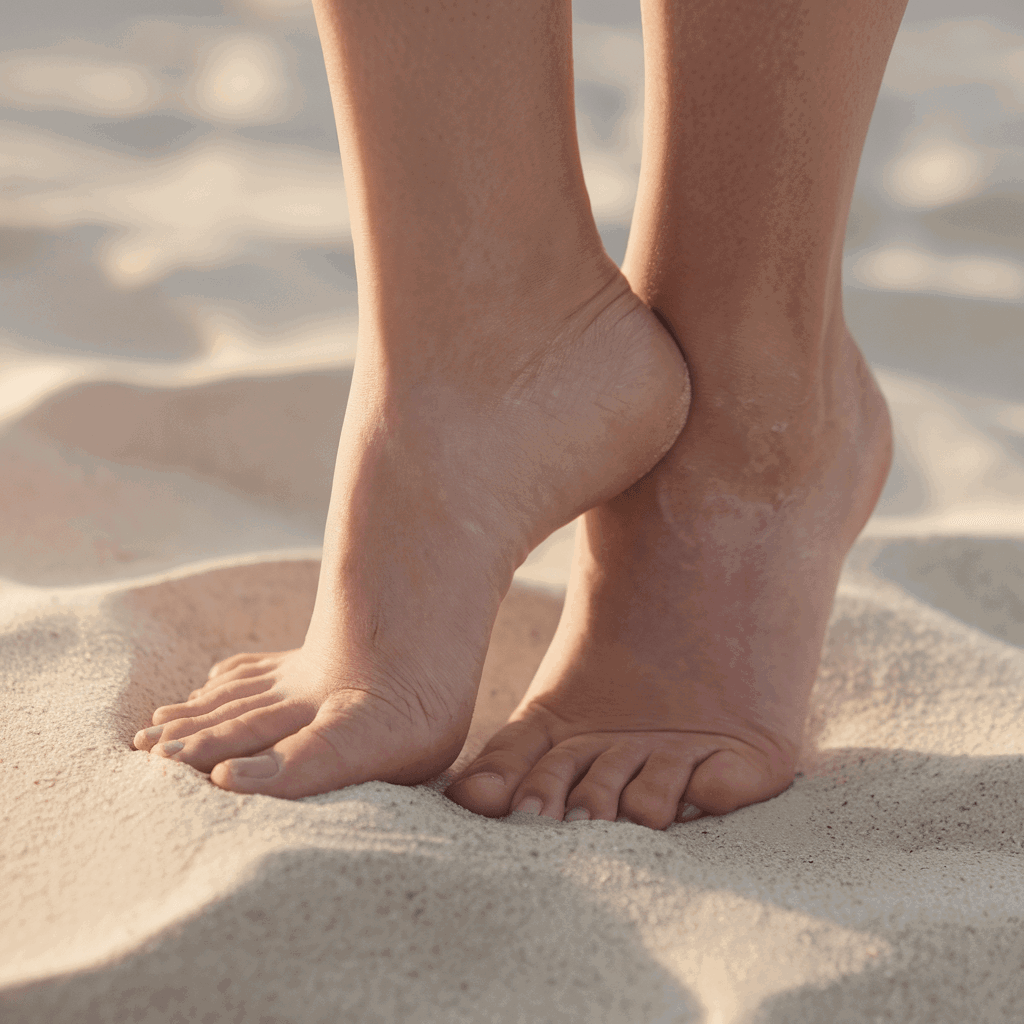
Arch Display
Show off the natural curves of your foot by pointing your toes or standing on your tiptoes. This pose highlights the arch, making your feet look elegant and attractive.
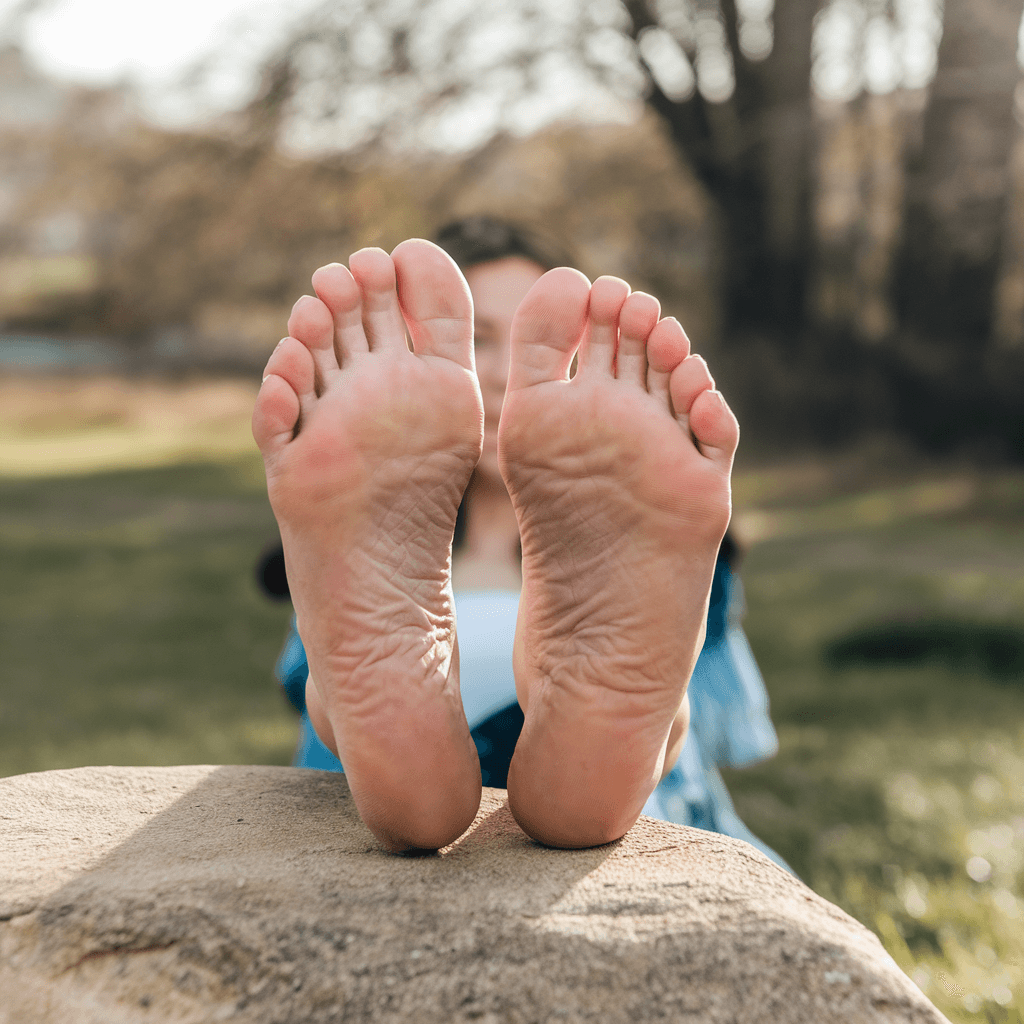
Toes Spread
Spread your toes to emphasize flexibility and structure. This pose works well with elevated angles or flat surfaces, creating a playful or sensual vibe.
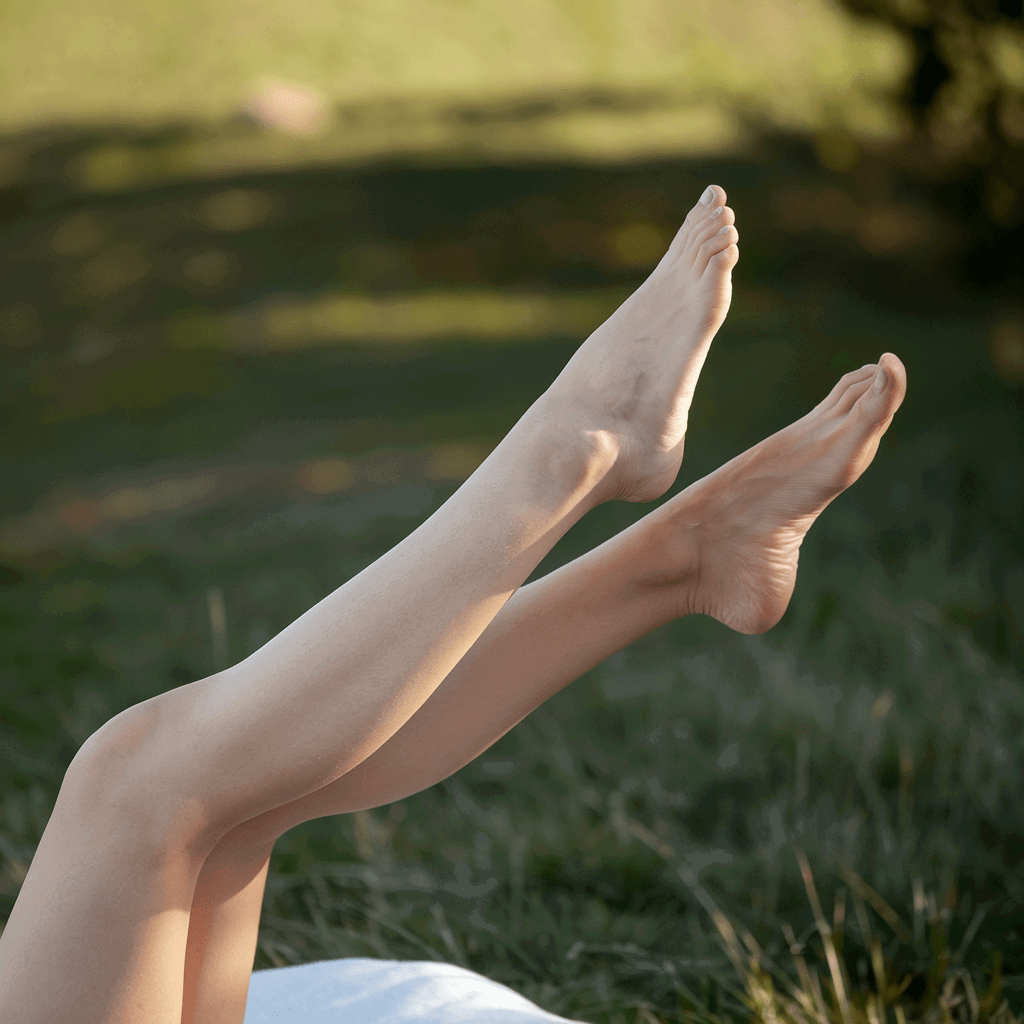
Relaxed Recline
Stretch your legs and tilt the camera upwards. This pose highlights slender feet and adds a relaxed, elegant touch.
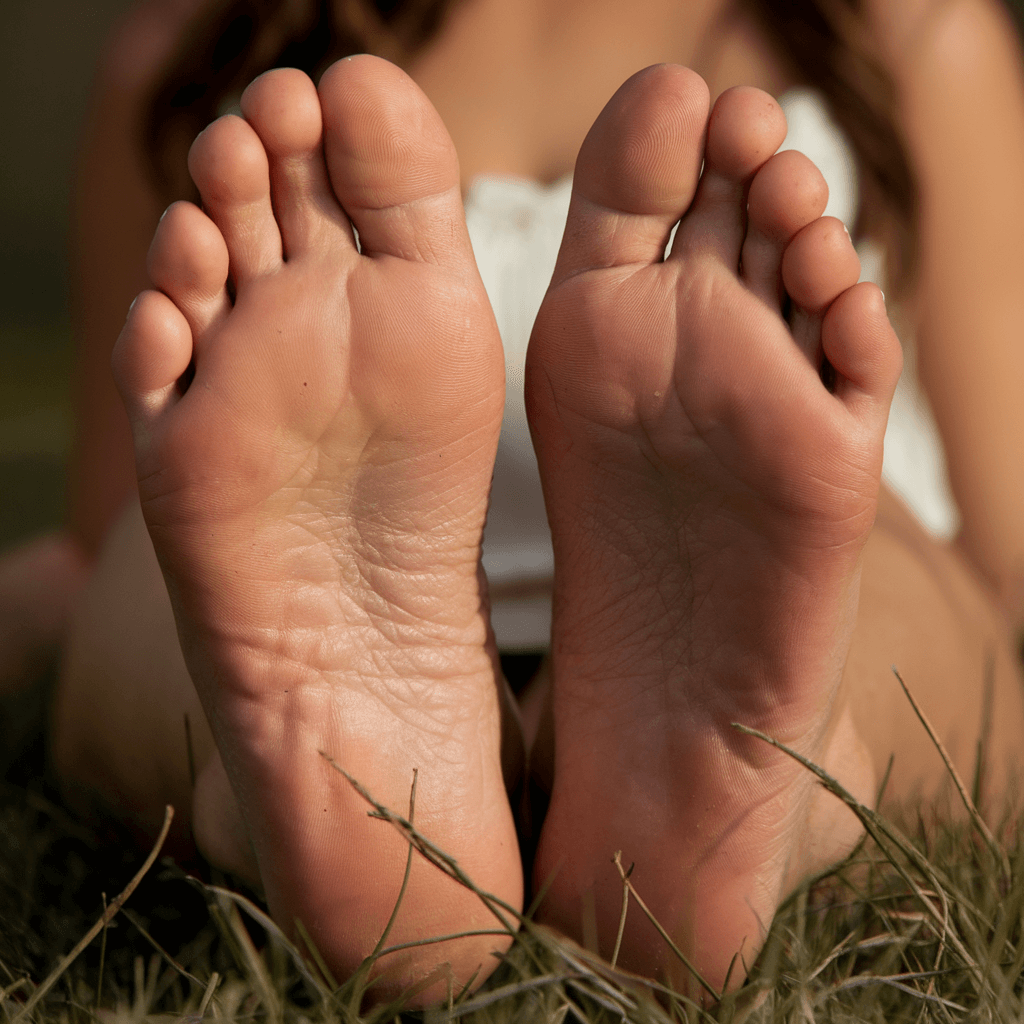
Soles Up
Aim the camera at the soles of your feet while lying down. This close-up pose captures details like smooth skin or natural wrinkles, which are often popular in fetish photography.
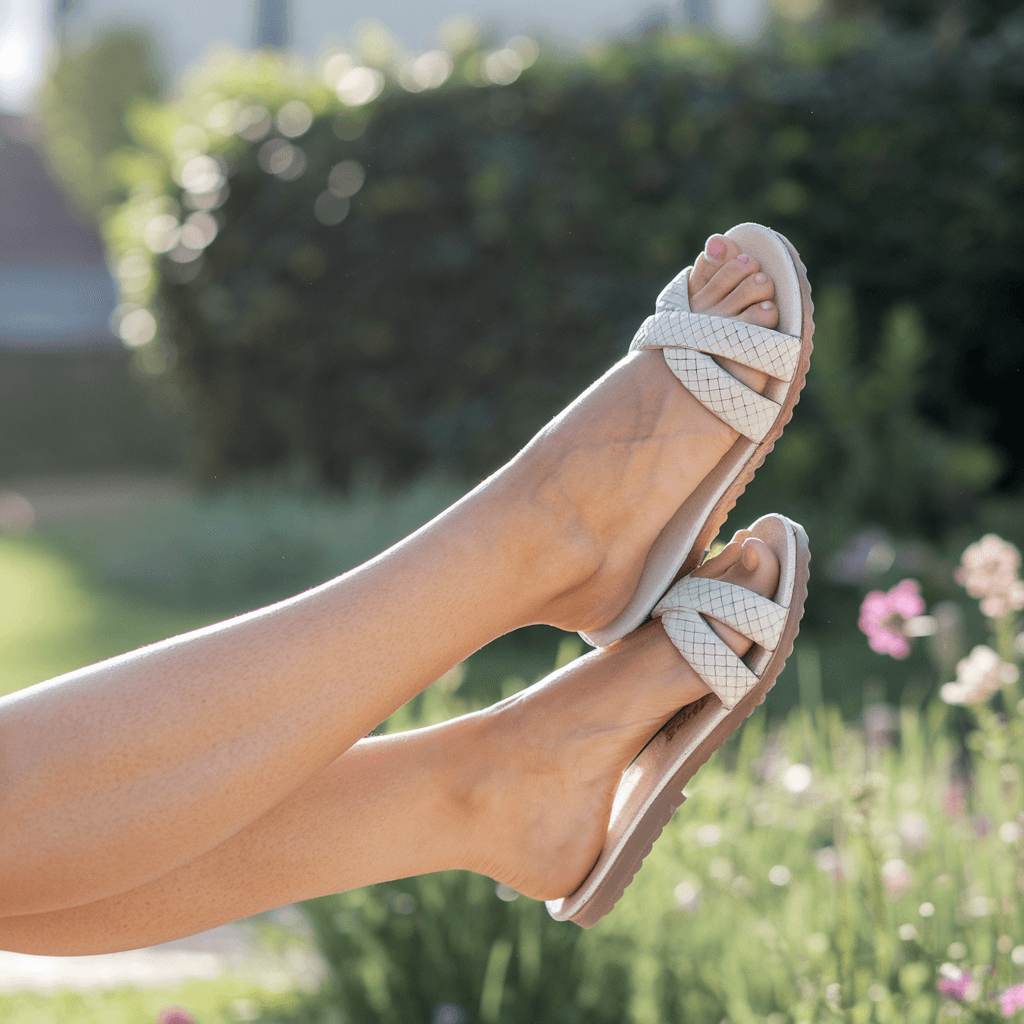
Foot Over Foot
Place one foot over the opposite leg for a creative look. Capture this from the top or front to add depth and elegance.
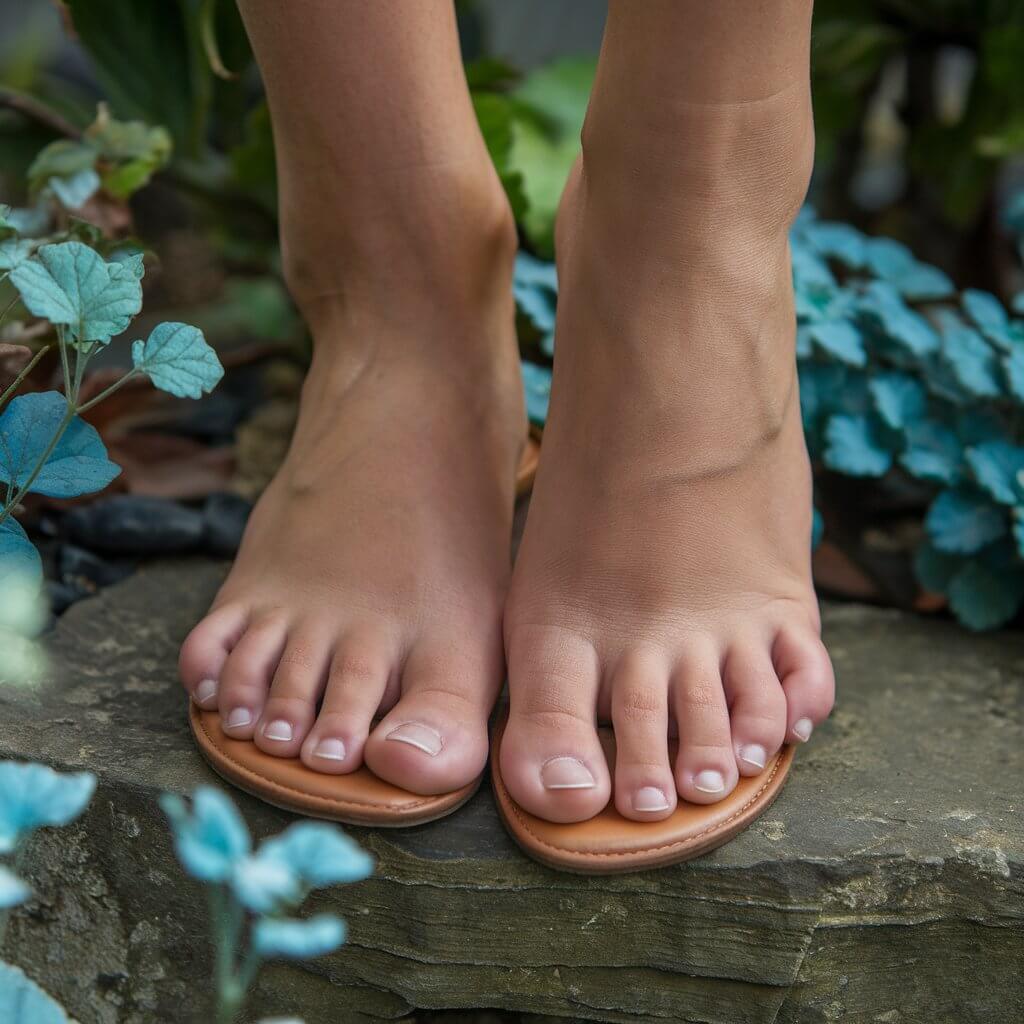
Pointed Toes
Pointing your toes creates a delicate, elongated appearance. This pose works sitting, standing, or lying down and enhances the feet’s natural curves.
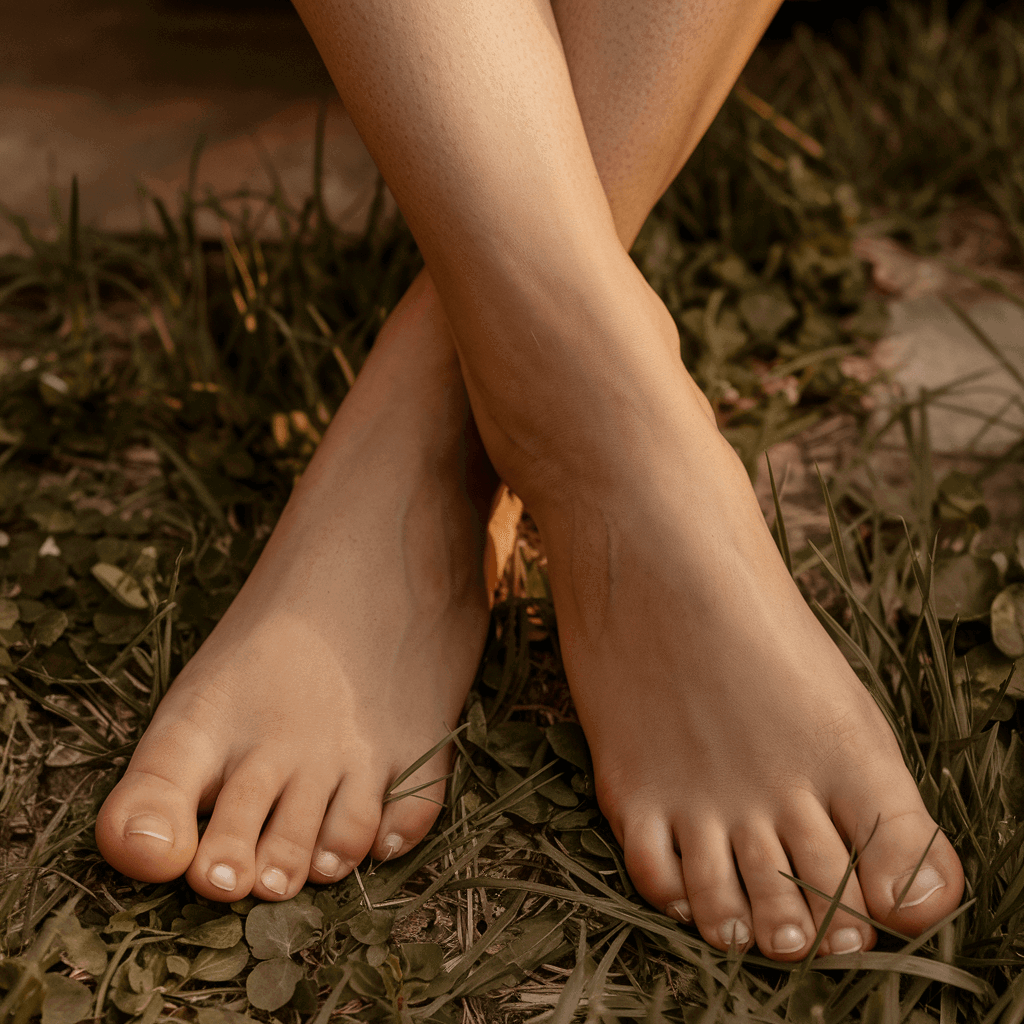
Crossed Ankles
Crossing your ankles creates a soft, natural look and is perfect for casual yet stylish shots. This works barefoot or with footwear.
More Ideas
- Relaxed Tiptoes: Stand on tiptoes to highlight arches and create an elegant shape.
- Criss-Cross Toes: Cross toes slightly for a playful and delicate appearance.
- Barefoot on the Edge: Let feet dangle naturally off a surface like a chair or couch.
- Peek-A-Boo: Partially wrap feet in a cozy blanket, leaving toes or heels visible.
- Overlapping Feet: Place one foot over the other to add depth and symmetry.
- Side Stretch: Extend one foot while lying on your side to highlight its shape.
- Barefoot in the Air: Lift feet upward while lying down for a playful, floating effect.
- Foot Arch Frame: Curl toes slightly while pointing your feet to show off the arches.
- Sandy Toes: Bury feet in sand with toes exposed for a casual, beachy vibe.
- One Foot Raised: Rest one foot on a stool or surface to create a dynamic pose.
- Curled Toes: Gently curl toes for a natural, relaxed appearance.
- Spread Heels: Stand with heels together and toes angled outward for symmetry.
- Casual Lean: Sit with legs extended and toes pointed away for a minimalistic shot.
- The Pointed V: Position feet in a V-shape to create a balanced, artistic effect.
- High Sole Arch: Kneel with soles up to showcase detailed arch features.
- Feet in Motion: Capture feet mid-step on a surface like sand or grass.
- Feet with Books: Rest feet gently on a stack of books for a cozy aesthetic.
- Toes Over Edge: Let toes drape over the edge of furniture for a stylish look.
- Heels Lifted: Raise heels slightly while seated to emphasize foot curvature.
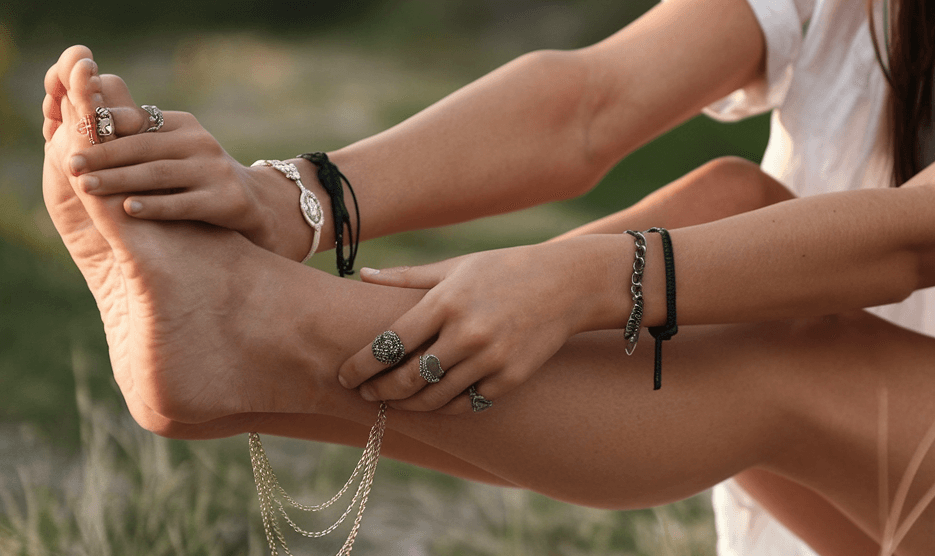
- Feet with Hands: Hold a foot while adjusting a ring or applying lotion for interaction.
How to Take Good Feet Pics
Taking feet pics requires more than just snapping photos. From foot care to mastering angles, these tips will help you produce professional, eye-catching images.
Take Good Care of Your Feet
Your feet are the focus of your photos, so keeping them healthy and camera-ready is essential. Follow these steps to maintain clean, polished feet:
- Feet Hygiene: Wash your feet daily and dry them thoroughly to avoid moisture-related issues like cracked skin.
- Pedicure: Keep your toenails trimmed and neat. Regular pedicures—either at home or professionally—enhance your feet’s appearance.
- Moisturize: Prevent dry or cracked skin by applying a hydrating lotion daily. Focus on areas like heels and toes for a soft, glowing look.
- Foot Masks: Exfoliate regularly with foot masks or scrubs to remove dead skin and maintain smoothness.
- Foot Exercises: Strengthen and tone your feet with simple exercises like toe stretches and arch lifts to enhance flexibility and structure.
Research and Inspiration
Studying the work of others is an excellent way to refine your skills and discover new ideas for your feet photography. By analyzing trends, themes, and techniques used by other creators, you can find inspiration while ensuring your content remains unique and personalized.
Analyze Popular Feet Pics
Explore social media platforms like Instagram, Pinterest, or TikTok, and content-specific sites such as OnlyFans. Look for creators with a strong following to identify the elements that make their feet pics stand out.
- Poses: Note which poses are frequently used and why they work. Examples include arched feet, sole close-ups, or pointed toes.
- Settings: Observe the variety of backgrounds, such as natural landscapes, minimalist indoor setups, or themed environments.
- Themes: Identify recurring styles, like cozy, elegant, playful, or seasonal.
Understand Viewer Preferences
Dive into audience reactions—likes, comments, or shares—to understand what resonates with viewers. Pay attention to:
- Types of lighting and colors that garner the most attention.
- Poses or angles that receive positive feedback.
- Themes or props that create engagement.
Stay on Top of Trends
Feet photography trends evolve, especially on platforms where audiences seek fresh and engaging content. Keep an eye out for emerging styles, like:
- Unique Props: Innovative items, such as metallic accents, holographic fabrics, or neon lights.
- Unconventional Settings: Urban backdrops, underwater shots, or moody lighting setups.
- Artistic Filters: Filters that create a vintage or surreal vibe, enhancing creativity.
Engage With the Community
Joining forums or social media groups dedicated to photography can provide valuable insights. Participate in discussions about techniques, editing software, and marketing strategies for feet pics. You may also find inspiration from collaborative ideas or challenges.
Create a Vision Board
Gather the most inspiring poses, settings, and themes into a digital or physical vision board. Use this as a reference when planning your own shoots to stay organized and focused.
Add Your Personal Twist
While it’s beneficial to draw inspiration from others, originality is key. Avoid directly copying someone’s work. Instead:
- Blend multiple ideas to create something new.
- Incorporate elements of your personality, such as unique nail art, signature props, or favorite color palettes.
- Experiment with creative storytelling by using props or themes that align with a narrative.
By investing time in research and putting your personal touch on your content, you’ll create feet pics that not only stand out but also reflect your unique style and creativity.
Perfect the Lighting
Good lighting is essential for high-quality photos.
- Natural Light: Shoot during the day or near a window for soft, even lighting.
- Artificial Light: Use soft indoor lighting when natural light isn’t available, but avoid harsh flashes that can create unflattering shadows.
Choose the Right Space or Setting
The setting of your photo is just as important as the subject itself. A clean, visually appealing space enhances the overall aesthetic and keeps the focus on your feet.
- Outdoor Settings: Take advantage of natural surroundings like beaches, grassy fields, gardens, or even rocky terrains. These settings add a unique texture and depth to your photos.
- Indoor Settings: For a more controlled environment, try cozy spots like your bedroom, a studio, or a bathroom with stylish tiles. Make use of clean, minimalist backgrounds that won’t distract from your feet.
- Seasonal Themes: Incorporate seasonal backdrops to keep your content fresh. For example:
- Autumn: Pile of leaves or pumpkins.
- Winter: Fireplace or fluffy rugs with holiday decorations.
- Spring: Blossoming flowers or pastel-toned fabrics.
- Summer: Poolsides, sandy beaches, or bright-colored props.
- Customized Spaces: For personalized or customer-requested themes, create a space that aligns with their vision. This could include specific colors, props, or even unique environments like a bathtub filled with flower petals.
Use High-Quality Tools
The tools you use can make a significant difference in the clarity and appeal of your photos. Fortunately, you don’t need the most expensive equipment to get started.
- Smartphones: Modern smartphones come equipped with advanced cameras that can capture sharp, detailed images. Use features like portrait mode, macro settings, and editing apps to enhance quality.
- Cameras: If you’re ready to invest, opt for a DSLR or mirrorless camera. These offer superior resolution, better depth, and more flexibility with lenses and settings.
- Tripods and Stands: Stabilize your camera or phone with a tripod to ensure your photos are steady and precise. Use flexible tripods to experiment with creative angles.
- Lighting Equipment: Ring lights, softbox lighting, or portable LED lights can help mimic natural light when shooting indoors or at night.
- Editing Software: Post-production tools like Adobe Lightroom, Snapseed, or Canva allow you to adjust brightness, contrast, and sharpness for a polished finish.
Read more: Best gadgets for OnlyFans Models
Experiment with Angles and Poses
Great feet pics are all about the right angles and poses that highlight the best features of your feet.
- Top-Down Angles: These are simple yet effective for showing the entire foot. Use this for relaxed, minimalist shots.
- Sole Close-Ups: Capture intricate details like wrinkles, curves, or smoothness. These angles are highly popular for niche audiences.
- Side Profiles: Highlight the natural arch of the foot for a graceful and elegant look.
- Elevated Angles: Place the camera slightly above and tilt it downward to create a unique perspective that elongates the feet.
- Action Shots: Show movement by capturing your feet mid-step, dipping into water, or curling toes into sand for a dynamic effect.
- Interactive Poses: Incorporate your hands by touching your feet lightly, applying lotion, or adjusting jewelry for a more interactive and personal touch.
Add Props and Backgrounds
Props and backgrounds elevate your feet pics by adding layers of creativity and personality. Use them to complement your poses and theme.
- Natural Props: Incorporate leaves, flowers, stones, or shells for a grounded, organic feel.
- Fashion Accessories: Use anklets, toe rings, sandals, or sheer stockings to draw attention to the elegance of your feet.
- Seasonal Props:
- Winter: Snowflakes, ornaments, or cozy socks.
- Spring: Fresh blooms, pastel fabrics, or butterflies.
- Summer: Beach balls, ice cream, or sunglasses.
- Autumn: Pinecones, knitted blankets, or coffee mugs.
- Textured Backgrounds: Rugs, wooden floors, marble tiles, or fluffy blankets can add depth and contrast to your images.
- Functional Props: Items like books, candles, or tea cups can create a relaxing vibe while keeping your feet as the centerpiece.
- Interactive Elements: Water (in a pool, bathtub, or even droplets on your skin), glitter, or sand can bring a playful or sensual edge to your photos.
Read more: Best equipments for OnlyFans Models
Pay Attention to Details
Even the smallest details can enhance or detract from your feet pics, so focus on fine-tuning your shots:
- Skin Texture: Smooth, well-moisturized skin creates a polished look.
- Toe Alignment: Slightly flex or curl your toes naturally to avoid stiffness.
- Background Cleanliness: A clutter-free environment directs the viewer’s attention where it matters most.
- Feet Positioning: Experiment with symmetrical poses, asymmetrical arrangements, or layered foot placements for variety.
By combining these elements, you’ll produce feet pics that are not only visually appealing but also creatively unique, ensuring they stand out in any platform or collection.
How to Edit Feet Pics: A Step-by-Step Guide
Editing your feet pics is essential to create polished, professional, and eye-catching images. These steps will help you refine your photos, correct imperfections, and make them stand out while maintaining a natural aesthetic.
- Remove Distractions
- Eliminate unnecessary objects or clutter from the background.
- Use cropping tools to focus solely on your feet and remove elements that may draw attention away from them.
- Soften Shadows
- Harsh shadows can detract from the smooth appearance of your feet.
- Use editing software to balance lighting and reduce overly dark areas for a more flattering look.
- Fix Reflections
- Jewelry or glossy surfaces may create glares or unwanted reflections.
- Adjust the brightness, contrast, and highlights to neutralize these imperfections.
- Retouch Skin
- Smooth out wrinkles, scars, or marks without making the feet look unnatural.
- Even out skin tones and add a subtle glow to enhance the overall look.
- Enhance Color and Brightness
- Slightly boost the brightness and adjust the color temperature to create a warm, inviting tone.
- Avoid making the image overly saturated or harsh.
- Crop and Reframe
- Crop the image to focus on the most flattering angles of your feet.
- Use framing tools to center the feet for balanced composition.
- Sharpen Details
- Highlight intricate features like toenails, jewelry, or skin texture.
- Use sharpening tools sparingly to avoid over-accentuation.
- Remove Blemishes
- Address small imperfections like calluses, redness, or dry spots.
- Use touch-up tools to create smooth, flawless skin.
- Adjust Background Blur
- Apply a subtle blur effect to the background to emphasize your feet as the focal point.
- This works particularly well for photos with props or textured settings.
- Experiment with Filters
- Use filters to add a professional finish to your photos.
- Stick to subtle filters that enhance lighting and colors without overshadowing the natural look.
- Balance Highlights and Shadows
- Fine-tune the contrast to bring out details in both highlights and shadows.
- Ensure that the adjustments create a cohesive, balanced image.
- Correct Alignment
- Straighten the image if it appears tilted or uneven.
- Symmetry enhances the visual appeal of your photos.
- Test Multiple Edits
- Save different versions of the image with varying levels of adjustments.
- Compare them to find the most appealing final edit.
- Maintain a Natural Aesthetic
- Avoid over-editing, which can make the photo look artificial.
- Aim for subtle enhancements that improve quality while retaining authenticity.
- Resize for Platform Specifications: If you’re uploading to specific platforms, adjust the photo’s dimensions to fit their requirements (e.g., square for Instagram or vertical for Pinterest).
- Add Watermarks (Optional)
- If selling or sharing online, consider adding a small watermark to protect your images.
- Place the watermark subtly so it doesn’t detract from the visual appeal.
By following these steps, you’ll produce feet pics that are polished, professional, and captivating while staying true to their natural charm.
Creative Feet Pic Ideas and Props
Adding creativity to your feet pics helps them stand out and keeps your content fresh and engaging. From seasonal themes to unique props, here are ideas to elevate your photos.
Flowers, Shoes, and Jewelry
- Flowers: Pose with petals scattered around or wear floral anklets for a soft, elegant vibe.
- Jewelry: Toe rings, anklets, and subtle chain accents can add a touch of sophistication.
- Shoes: Use high heels, strappy sandals, or colorful flats to enhance the look of your feet while keeping the focus on them.
Seasonal and Themed Feet Pics
Switch up your themes with seasonal content. Not only does this add variety, but it also attracts viewers who love festive or timely imagery.
- Summer: Beach shots with sandy toes or feet in flip-flops.
- Autumn: Bare feet surrounded by colorful leaves or cozy socks in rustic settings.
- Winter: Feet wrapped in fuzzy socks, near a fireplace, or with festive nail art.
- Spring: Barefoot shots in blooming gardens or with pastel-colored props.
Experimenting with Props
Props can transform ordinary feet pics into stunning visuals. Try:
- Nature Elements: Leaves, sand, or water.
- Fabrics: Silk sheets, soft blankets, or lace for texture.
- Accessories: Stylish socks, stockings, or ribbons.
Nail Care and Presentation for Feet Pics
Proper nail care and presentation play a vital role in making your feet look polished and camera-ready. A clean and well-maintained appearance enhances the overall quality of your photos and appeals to a wider audience.
Nail Colors That Work Best
The right nail color can elevate your feet pics. Choose shades based on the mood or theme of your shoot:
- Classic Colors: Red, nude, and white are timeless choices that exude elegance.
- Bright Shades: Pink, turquoise, or coral add a playful, fun vibe.
- Dark Tones: Black, burgundy, or deep purple create a sultry and edgy aesthetic.
- Seasonal Hues: Soft pastels for spring, bold colors for summer, warm tones for fall, and festive shades like gold or silver for winter.
Nail Care Tips
Keep your nails looking neat and polished with these tips:
Regular Pedicures
- Trim and shape your nails to a uniform length.
- Push back cuticles for a clean, groomed appearance.
- Buff your nails for a smooth, glossy finish.
Clean and Tidy Appearance
Ensure nails are free from chips or discoloration. Touch up nail polish regularly and maintain a high-quality finish.
Experiment with Nail Art
If you’re looking to add flair, experiment with:
- French Tips: A clean, minimalist style that always looks polished.
- Patterns: Dots, stripes, or floral designs for creative themes.
- Accents: Small gems or glitter for an added touch of glamor.
FAQs
The key to great feet pics lies in preparation and attention to detail. Here’s a quick checklist:
- Use natural lighting or soft indoor lighting for a flattering look.
- Keep your background simple and clean to focus attention on your feet.
- Experiment with flattering angles and poses like arch displays or sole shots.
- Enhance your photos with subtle editing to adjust brightness and sharpness.
Nail color depends on the style and mood of your photos:
- Bold Shades: Red or black for a striking, sexy look.
- Neutral Tones: Nude or white for a clean, elegant vibe.
- Playful Colors: Bright pink, turquoise, or pastel shades for fun themes.
- Seasonal Picks: Glitter for holidays or vibrant colors for summer shoots.
To create Instagram-worthy feet pics, try these popular poses:
- Arched Feet: Highlights the natural curve for an elegant look.
- Crossed Ankles: Perfect for a laid-back, relaxed vibe.
- Toes Pointed: Adds a delicate, elongated appearance.
- Sole Shots: Offers a close-up view, popular among niche audiences.
A good foot pic combines several factors:
- Clean, Groomed Feet: Keep your skin smooth and nails tidy.
- Natural Lighting: Reduces harsh shadows and enhances your photo’s quality.
- Creative Props: Add subtle accents like flowers or jewelry to make the image unique.
- Dynamic Poses: Try a variety of angles to keep your content fresh.
Yes, feet pics are often taken without including the face to maintain anonymity. To keep the focus on your feet:
- Frame your photos from the ankles down.
- Use creative cropping techniques or props to block your face if necessary.
- Wear legwear or socks that complement the aesthetic.
Props can add personality and creativity to your feet pics. Popular options include:
- Natural Elements: Flowers, leaves, sand, or water.
- Accessories: Anklets, toe rings, or sheer socks.
- Seasonal Items: Holiday decor, pumpkins, or seashells.
- Everyday Objects: Books, blankets, or coffee mugs for a cozy vibe.
To sell or share feet pics effectively:
- Choose platforms like Instagram, Pinterest, or OnlyFans to showcase your content.
- Build a recognizable aesthetic with consistent themes, poses, and editing styles.
- Use hashtags and SEO-friendly captions to attract an audience.
- Consider watermarking your images to protect them from unauthorized use.
Avoid these common pitfalls:
- Neglecting Grooming: Unkempt nails or dry skin can ruin your photos.
- Harsh Lighting: Overexposed or underlit photos diminish quality.
- Busy Backgrounds: Clutter can distract viewers from the subject.
- Over-Editing: Excessive filters or touch-ups can make photos look artificial.


